Note
Access to this page requires authorization. You can try signing in or changing directories.
Access to this page requires authorization. You can try changing directories.
Note
The integrated apps portal is the recommended and most feature-rich way for most customers to centrally deploy Office add-ins to users and groups within your organization. If that method is not available for your organization, use the add-in portal as described in Deploy an Office Add-in using the admin center later in this article.
Office Add-ins help you personalize your documents and streamline the way you access information on the web (see Start using your Office Add-in). As an admin, you can deploy Office Add-ins for the users in your organization by using the centralized deployment feature in the Microsoft 365 admin center.
For more information on how to determine if your organization can support centralized deployment, see Determine if centralized deployment of add-ins works for your organization.
To learn more about managing add-ins after deployment, see Manage add-ins in the admin center
Note
There are other ways for deploying Office Add-ins in certain scenarios. For more information, see Deploy and publish Office Add-ins.
Recommended approach for deploying Office Add-ins
To roll out add-ins by using a phased approach, we recommend the following:
Roll out the add-in to a small set of business stakeholders and members of the IT department. If the deployment is successful, move to step 2.
Roll out the add-in to more individuals within the business. Again, evaluate the results and, if successful, continue with full deployment.
Perform a full rollout to all users.
Depending on the size of the target audience, you can add or remove roll-out steps.
Deploy an Office Add-in using the admin center
Before you begin, see Determine if centralized deployment of add-ins works for your organization.
In the admin center, go to the Settings > Integrated apps >.
Select the Add-ins link near the top of the Integrated apps page.
Select Deploy Add-in at the top of the page.
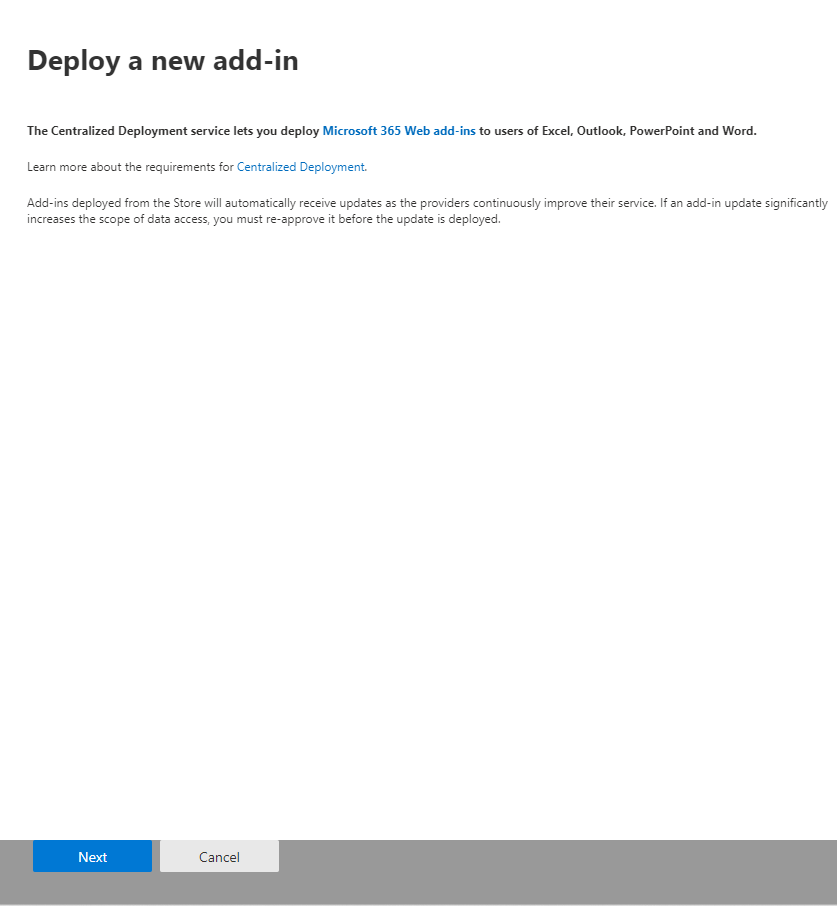
Select Next on the Deploy a new add-in wizard.
Select an option and follow the instructions. ("Office Store" refers to AppSource.)
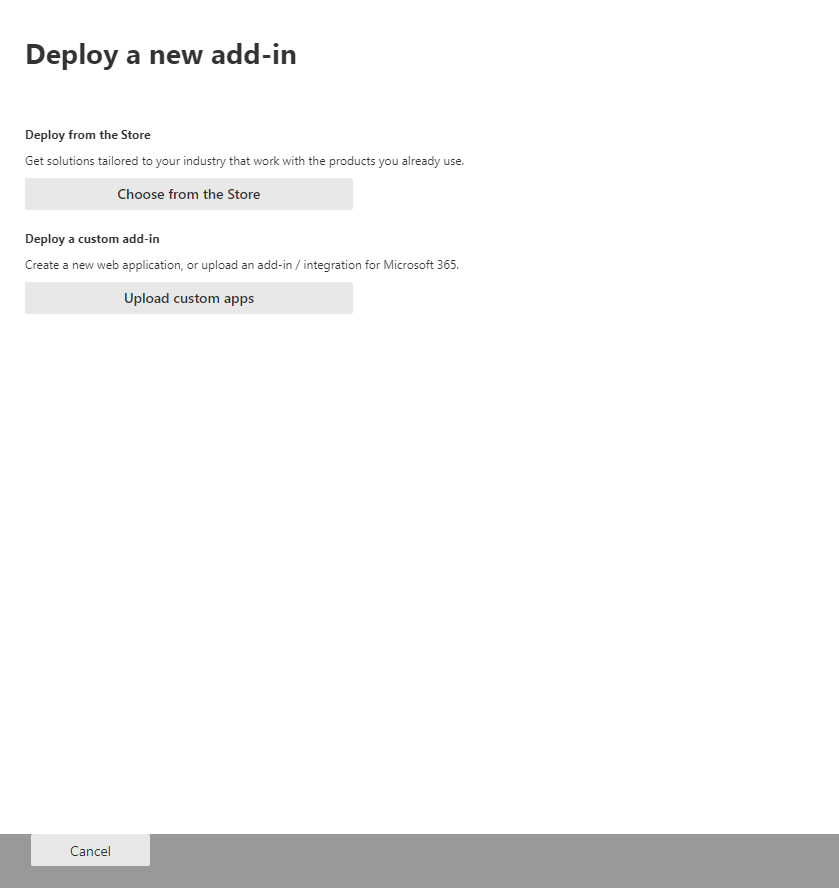
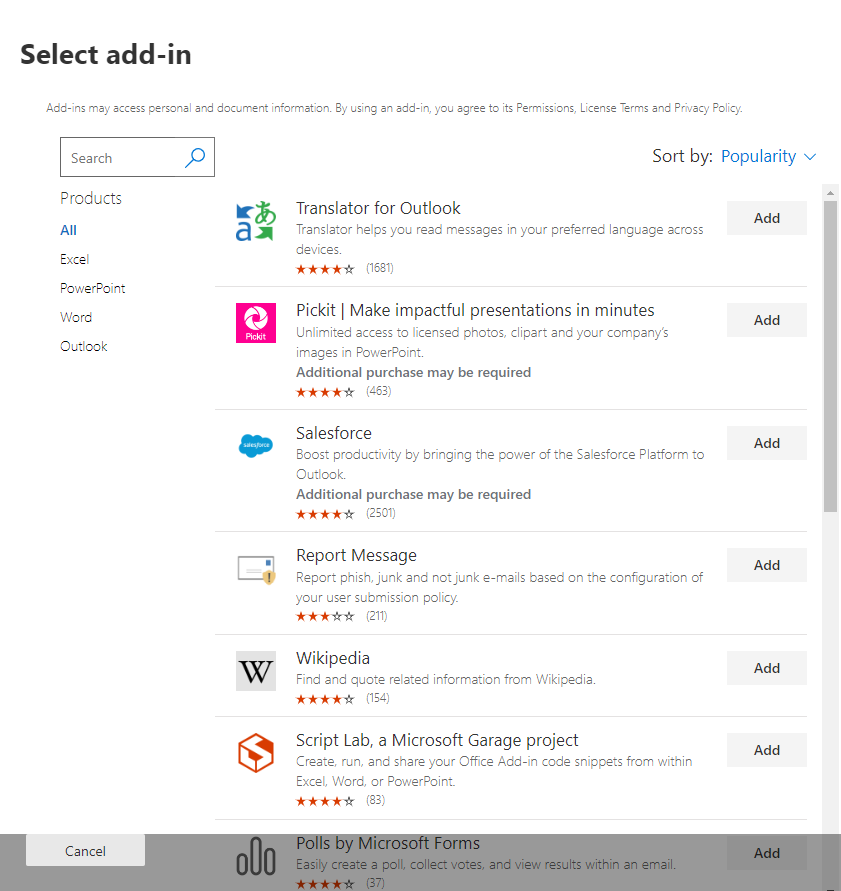
If you selected the option to add an add-in from the AppSource store, make your add-in selection.
You can view available add-ins by categories: Suggested for you, Rating, or Name. After you select an add-in, accept the terms and conditions to proceed.
Note
With the AppSource (store) option, updates and enhancements are automatically deployed to users.
If you chose to upload a custom add-in, carry out the following steps.
- In the Choose how to upload app section, do one of the following:
Select the option to upload the manifest, and then select the Choose File button. Navigate to the add-in's manifest and select it.
Important
Only add-ins that use the add-in only manifest can be deployed from the add-in portal at this time. To deploy an add-in that uses the Microsoft 365 unified manifest, you must use the integrated apps portal. See Office Add-ins manifest for information about the difference.
Select the option to provide a URL for the manifest, fill in the URL.
- Select Upload.
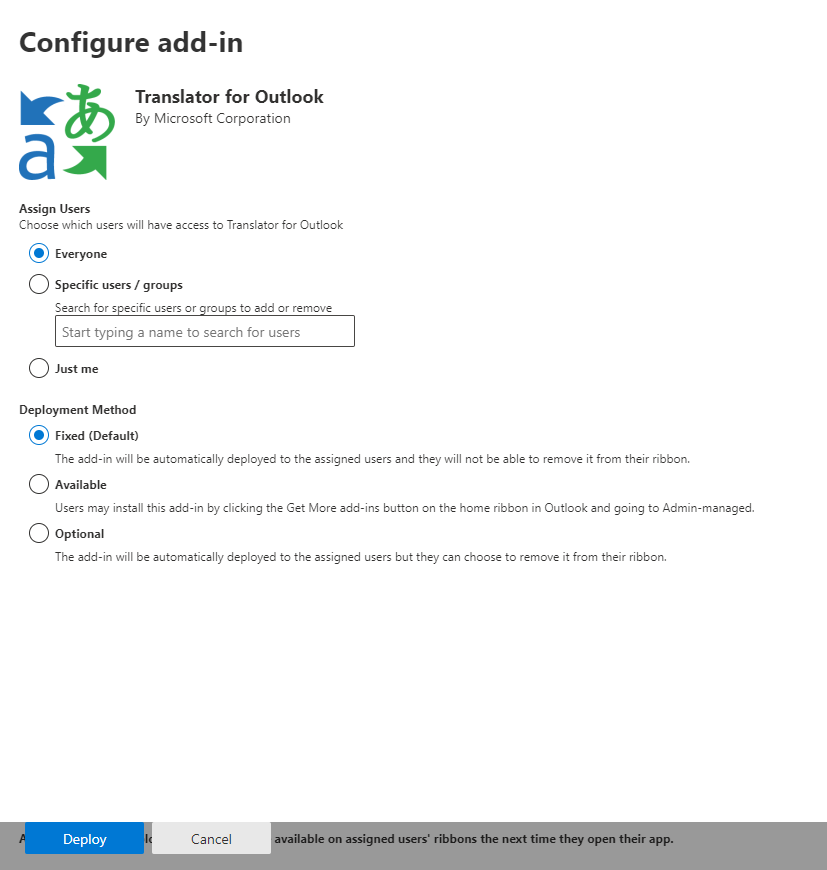
On the next page, select Everyone, Specific users/groups, or Just me to specify who the add-in is deployed to. Use the Search box to find specific users or groups.
Note
To learn about other states that apply to an add-in, see Add-in states.
Select Deploy.
A green tick appears when the add-in is deployed. Follow the on-page instructions to test the add-in.
Note
Users might need to relaunch the relevant Office application to see view the add-in icon on the ribbon. Add-ins can take up to 72 hours to appear on the ribbon.
When finished, select Next. If you've deployed to just yourself, you can select Change who has access to add-in to deploy to more users.
If you've deployed the add-in to other members of your organization, follow the instructions to announce the deployment of the add-in.
It's good practice to inform users and groups that the deployed add-in is available. Consider sending an email that describes when and how to use the add-in. Include or link to Help content or FAQs that might help users if they have problems with the add-in.


Considerations when assigning an add-in to users and groups
Global admins and Exchange admins can assign an add-in to everyone or to specific users and groups. Each option has implications:
Everyone This option assigns the add-in to every user in the organization. Use this option sparingly and only for add-ins that are truly universal to your organization.
Users If you assign an add-in to an individual user, and then deploy the add-in to a new user, you must first add the new user.
Groups If you assign an add-in to a group, users who are added to the group are automatically assigned the add-in. When a user is removed from a group, the user loses access to the add-in. In either case, no additional action is required from the admin.
Just me If you assign an add-in to just yourself, the add-in is assigned to only your account, which is ideal for testing the add-in.
The right option for your organization depends on your configuration. However, we recommend making assignments by using groups. As an admin, you might find it easier to manage add-ins by using groups and controlling the membership of those groups rather than assigning individual users each time. In some situations, you might want to restrict access to a small set of users by making assignments to specific users by assigning users manually.
More about Office Add-ins security
Office Add-ins combine a manifest file that contains some metadata about the add-in, but most importantly points to a web application which contains all the code and logic. Add-ins can range in their capabilities. For example, add-ins can:
Display data.
Read a user's document to provide contextual services.
Read and write data to and from a user's document to provide value to that user.
For more information about the types and capabilities of Office Add-ins, see Office Add-ins platform overview, especially the section "Anatomy of an Office Add-in."
To interact with the user's document, the add-in needs to declare what permission it needs in the manifest. A five-level JavaScript API access-permissions model provides the basis for privacy and security for users of task pane add-ins. The majority of the add-ins in AppSource are level read/write document with almost all add-ins supporting at least the read document level. For more information about the permission levels, see Requesting permissions for API use in content and task pane add-ins.
When a manifest is updated, the typical changes are to an add-in's icon and text. Occasionally, add-in commands change. However, the permissions of the add-in don't change. The web application where all the code and logic for the add-in runs can change at any time, which is the nature of web applications.
Updates for add-ins happen as follows:
Line-of-business (LOB) add-in: In this case, where an admin uploaded a manifest, the admin must upload the new manifest file to support metadata changes. The next time a user starts the relevant Microsoft 365 productivity application, the add-in will update.
Note
To deploy the update, select the LOB add-in and choose the Update Button in the bottom right corner.
AppSource add-in: When an admin selected an add-in from AppSource and then the developer updated the manifest in AppSource, the admin doesn't have to take any action. The next time a user starts the relevant Microsoft 365 productivity application, the add-in will update.
Related content
Deploy and manage Office add-ins (article)
Manage add-ins in the admin center (article)
Build your first Word task pane add-in (article
Minors and acquiring add-ins from the store (article)
Use Centralized Deployment PowerShell cmdlets to manage add-ins (article)
Troubleshoot: User not seeing add-ins (article)