你当前正在访问 Microsoft Azure Global Edition 技术文档网站。 如果需要访问由世纪互联运营的 Microsoft Azure 中国技术文档网站,请访问 https://docs.azure.cn。
如果 Azure 内置角色不满足组织的特定需求,你可以创建自己的自定义角色。 在本教程中,你将使用 Azure CLI 创建名为“读者支持票证”的自定义角色。 自定义角色允许用户查看订阅的控制平面中的所有内容,并打开支持票证。
本教程中,您将学习如何:
- 创建自定义角色
- 列出自定义角色
- 更新自定义角色
- 删除自定义角色
如果没有 Azure 订阅,请在开始之前创建一个免费帐户。
先决条件
若要完成本教程,需要:
- 创建自定义角色的权限,例如 用户访问管理员
- Azure Cloud Shell 或 Azure CLI
登录 Azure CLI
登录到 Azure CLI。
创建自定义角色
创建自定义角色的最简单方法是从 JSON 模板开始,添加更改,然后创建新角色。
查看 Microsoft.Support 资源提供程序的动作列表。 了解可用于创建权限的操作会很有帮助。
Action Description Microsoft.Support/register/action 注册到支持资源提供程序 Microsoft.Support/supportTickets/read 获取支持票证详细信息(包括状态、严重性、联系人详细信息和通信),或获取跨订阅的支持票证列表。 Microsoft.Support/supportTickets/write 创建或更新支持票证。 可以为技术、计费、配额或订阅管理相关问题创建支持票证。 可以更新现有支持票证的严重性、联系详细信息和通信。 创建名为 ReaderSupportRole.json的新文件。
在编辑器中打开 ReaderSupportRole.json 并添加以下 JSON。
有关不同属性的信息,请参阅 Azure 自定义角色。
{
  "Name": "",
  "IsCustom": true,
  "Description": "",
  "Actions": [],
  "NotActions": [],
  "DataActions": [],
  "NotDataActions": [],
  "AssignableScopes": [
    "/subscriptions/{subscriptionId1}"
  ]
}
将以下操作添加到
Actions属性。 这些作允许用户查看订阅中的所有内容,并创建支持票证。"*/read", "Microsoft.Support/*"使用 az account list 命令获取订阅的 ID。
az account list --output table在
AssignableScopes中,将{subscriptionId1}替换为您的订阅 ID。您必须添加明确的订阅 ID,否则将无法将角色导入您的订阅中。
将
Name和Description属性更改为“读者支持票证”和“查看订阅中的所有内容,并打开支持票证”。JSON 文件应如下所示:
{
  "Name": "Reader Support Tickets",
  "IsCustom": true,
  "Description": "View everything in the subscription and also open support tickets.",
  "Actions": [
    "*/read",
    "Microsoft.Support/*"
  ],
  "NotActions": [],
  "DataActions": [],
  "NotDataActions": [],
  "AssignableScopes": [
    "/subscriptions/00000000-0000-0000-0000-000000000000"
  ]
}
若要创建新的自定义角色,请使用 az role definition create 命令并指定 JSON 角色定义文件。
az role definition create --role-definition "~/CustomRoles/ReaderSupportRole.json"{ "additionalProperties": {}, "assignableScopes": [ "/subscriptions/00000000-0000-0000-0000-000000000000" ], "description": "View everything in the subscription and also open support tickets.", "id": "/subscriptions/00000000-0000-0000-0000-000000000000/providers/Microsoft.Authorization/roleDefinitions/22222222-2222-2222-2222-222222222222", "name": "22222222-2222-2222-2222-222222222222", "permissions": [ { "actions": [ "*/read", "Microsoft.Support/*" ], "additionalProperties": {}, "dataActions": [], "notActions": [], "notDataActions": [] } ], "roleName": "Reader Support Tickets", "roleType": "CustomRole", "type": "Microsoft.Authorization/roleDefinitions" }新的自定义角色现已可用,可以分配给用户、组或服务主体,就像内置角色一样。
列出自定义角色
若要列出所有自定义角色,请使用带参数的 az role definition list 命令
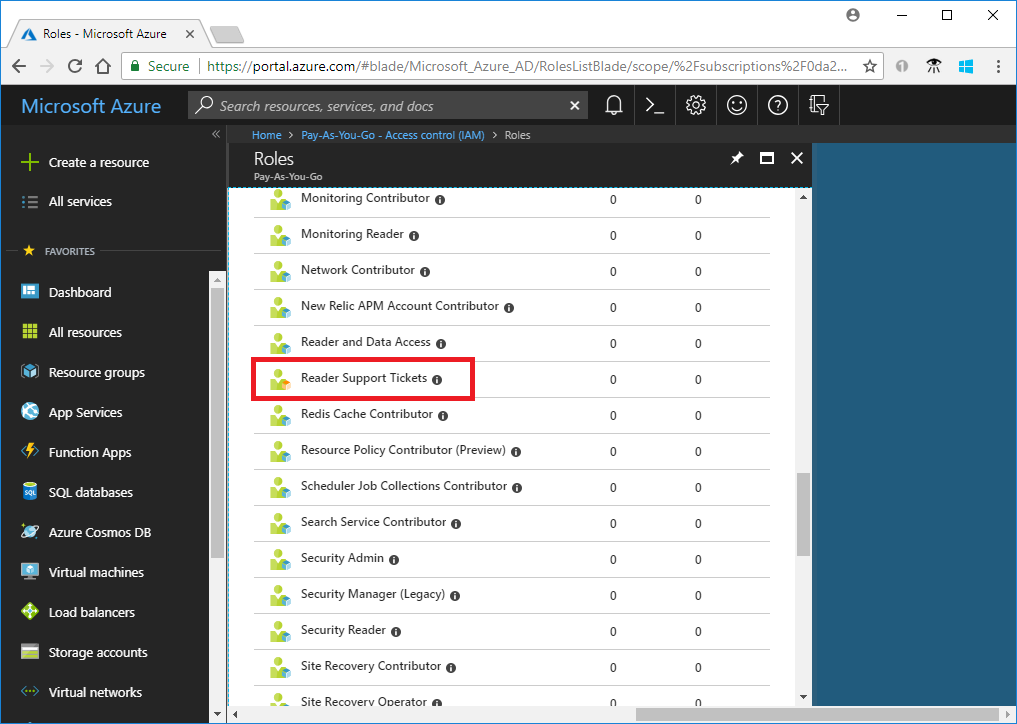
--custom-role-only。az role definition list --custom-role-only true[ { "additionalProperties": {}, "assignableScopes": [ "/subscriptions/00000000-0000-0000-0000-000000000000" ], "description": "View everything in the subscription and also open support tickets.", "id": "/subscriptions/00000000-0000-0000-0000-000000000000/providers/Microsoft.Authorization/roleDefinitions/22222222-2222-2222-2222-222222222222", "name": "22222222-2222-2222-2222-222222222222", "permissions": [ { "actions": [ "*/read", "Microsoft.Support/*", "Microsoft.Resources/deployments/*", "Microsoft.Insights/diagnosticSettings/*/read" ], "additionalProperties": {}, "dataActions": [], "notActions": [], "notDataActions": [] } ], "roleName": "Reader Support Tickets", "roleType": "CustomRole", "type": "Microsoft.Authorization/roleDefinitions" } ]还可以在 Azure 门户中查看自定义角色。
更新自定义角色
若要更新自定义角色,请更新 JSON 文件,然后更新自定义角色。
打开 ReaderSupportRole.json 文件。
在
Actions中添加用于创建和管理资源组部署的操作"Microsoft.Resources/deployments/*"。 请确保在前一个动作之后加上逗号。更新后的 JSON 文件应如下所示:
{
  "Name": "Reader Support Tickets",
  "IsCustom": true,
  "Description": "View everything in the subscription and also open support tickets.",
  "Actions": [
    "*/read",
    "Microsoft.Support/*",
    "Microsoft.Resources/deployments/*"
  ],
  "NotActions": [],
  "DataActions": [],
  "NotDataActions": [],
  "AssignableScopes": [
    "/subscriptions/00000000-0000-0000-0000-000000000000"
  ]
}
若要更新自定义角色,请使用 az role definition update 命令并指定更新的 JSON 文件。
az role definition update --role-definition "~/CustomRoles/ReaderSupportRole.json"{ "additionalProperties": {}, "assignableScopes": [ "/subscriptions/00000000-0000-0000-0000-000000000000" ], "description": "View everything in the subscription and also open support tickets.", "id": "/subscriptions/00000000-0000-0000-0000-000000000000/providers/Microsoft.Authorization/roleDefinitions/22222222-2222-2222-2222-222222222222", "name": "22222222-2222-2222-2222-222222222222", "permissions": [ { "actions": [ "*/read", "Microsoft.Support/*", "Microsoft.Resources/deployments/*" ], "additionalProperties": {}, "dataActions": [], "notActions": [], "notDataActions": [] } ], "roleName": "Reader Support Tickets", "roleType": "CustomRole", "type": "Microsoft.Authorization/roleDefinitions" }
删除自定义角色
使用 az role definition delete 命令并指定角色名称或角色 ID 以删除自定义角色。
az role definition delete --name "Reader Support Tickets"