Note
Access to this page requires authorization. You can try signing in or changing directories.
Access to this page requires authorization. You can try changing directories.
Note
This connector is owned and provided by SoftOne.
Summary
| Item | Description |
|---|---|
| Release State | Beta |
| Products | Power BI (Semantic models) Power BI (Dataflows) Fabric (Dataflow Gen2) |
| Authentication Types Supported | Basic |
Prerequisites
You must have the Soft1 ERP/CRM or Atlantis ERP product installed with a licensed SoftOne BI connector module. A web account must be configured in the application with access to the SoftOne BI Connector service. This account information and your installation serial number are validated during authentication by the SoftOne BI connector.
The SoftOne BI connector is supported from Soft1 Series 5 version 500.521.11424 or later and Atlantis ERP version 3.3.2697.1 or later.
Capabilities supported
- Import
Connection instructions
SoftOne provides many templates as Power BI template files (.pbit) that you can use or customize which provides you with a start to your BI project. For example, Sales & Collections, and Finance.
To connect in Power BI Desktop using a new report, follow the steps below. If you're connecting from a report created using one of the SoftOne BI templates, see Using a provided template later in this article.
Connect to your Soft1 or Atlantis data store from scratch
To load data from your installation with Power Query Desktop:
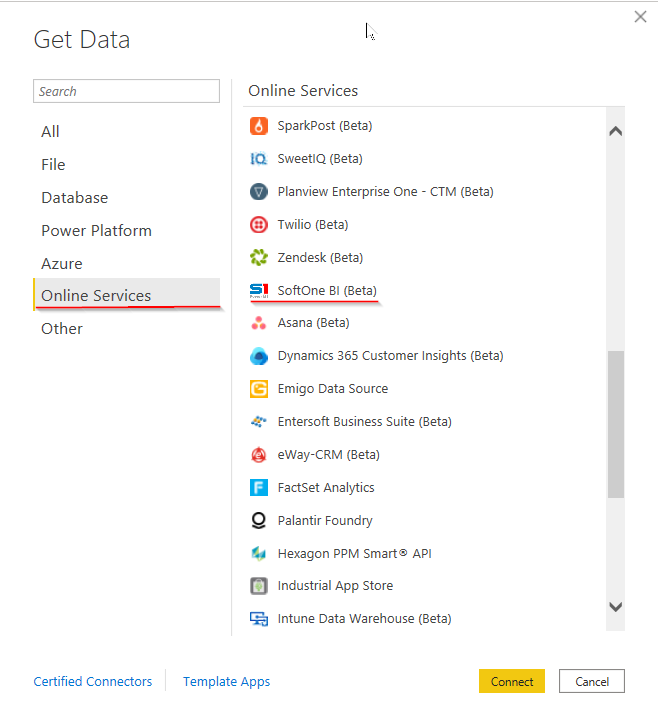
Select Get Data > More... > Online Services in Power BI Desktop and search for SoftOne BI. Select Connect.
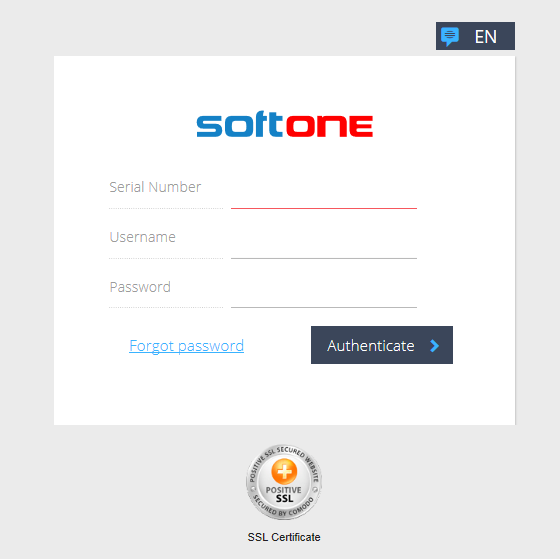
Select Sign in. An authentication form is displayed.
Note
- If you enter incorrect credentials, you receive a message stating that your sign in failed due to invalid credentials.
- If the SoftOne BI Connector isn't activated, or the Web Account that you're using isn't configured with the service, you receive a message stating that access is denied because the selected module isn't activated.
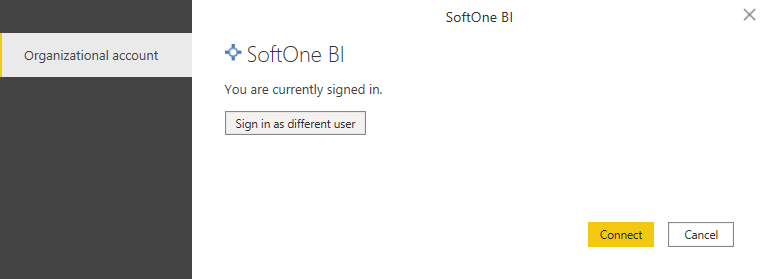
After signing in with SoftOne Web Services, you can connect to your data store.
Selecting Connect takes you to the navigation table and display the available tables from the data store from which you can select the data required.
In the navigator, you should now see the tables in your data store. Fetching the tables can take some time.

You must have uploaded the data from your Soft1 or Atlantis installation (per the product documentation) to see any tables. If you haven't uploaded your data, you won't see any tables displayed in the Navigation Table.

In this case, you need to go back to your application and upload your data.
Using a provided template
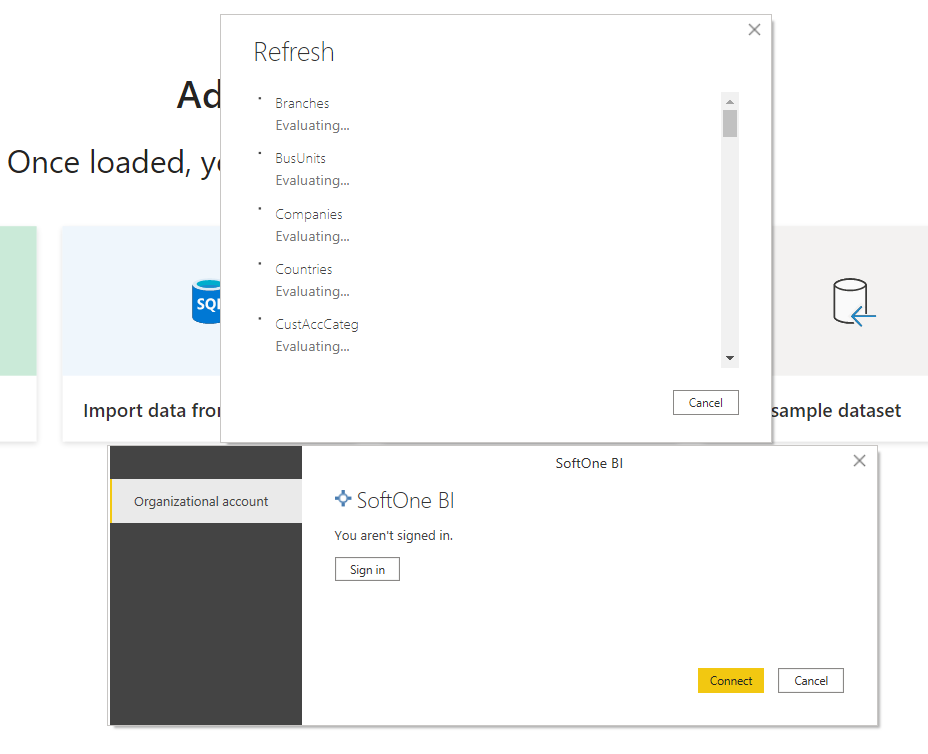
Open the selected template, Power BI Desktop attempts to load the data from the data store, and prompts for credentials.
Select Sign in and enter your credentials (Serial number, username, and password).
Once you're authenticated, select Connect.
Power BI Desktop then fetches the data from the data store.
After the refresh completes, you're ready to start customizing the report or to publish it as is to the Power BI Service.
Important
If you're working with more than one Soft1/Atlantis installation, then when switching between data stores, you must clear the SoftOne BI credentials saved by Power BI Desktop.