Note
Access to this page requires authorization. You can try signing in or changing directories.
Access to this page requires authorization. You can try changing directories.
A dataflow is a collection of tables that you create and manage in workspaces in the Power BI service. A table is a set of columns that store data, much like a table within a database. You can add and edit tables in your dataflow and manage data refresh schedules directly from the workspace in which you created your dataflow. To create a dataflow, launch the Power BI service in a browser, then select a workspace (dataflows aren't available in my-workspace in the Power BI service) from the nav pane. You can also create a new workspace in which to create your new dataflow.
You can create or build on top of a new dataflow in several ways:
- Create a dataflow by using a new source
- Create a dataflow by using linked tables
- Create a dataflow by using a CDM folder
- Create a dataflow by using import/export
The following sections explore each of these ways to create a dataflow in detail.
Note
Users in a Premium workspace, users with a Pro license, and users with a Premium Per User (PPU) license can create dataflows.
Create a dataflow by using a new source
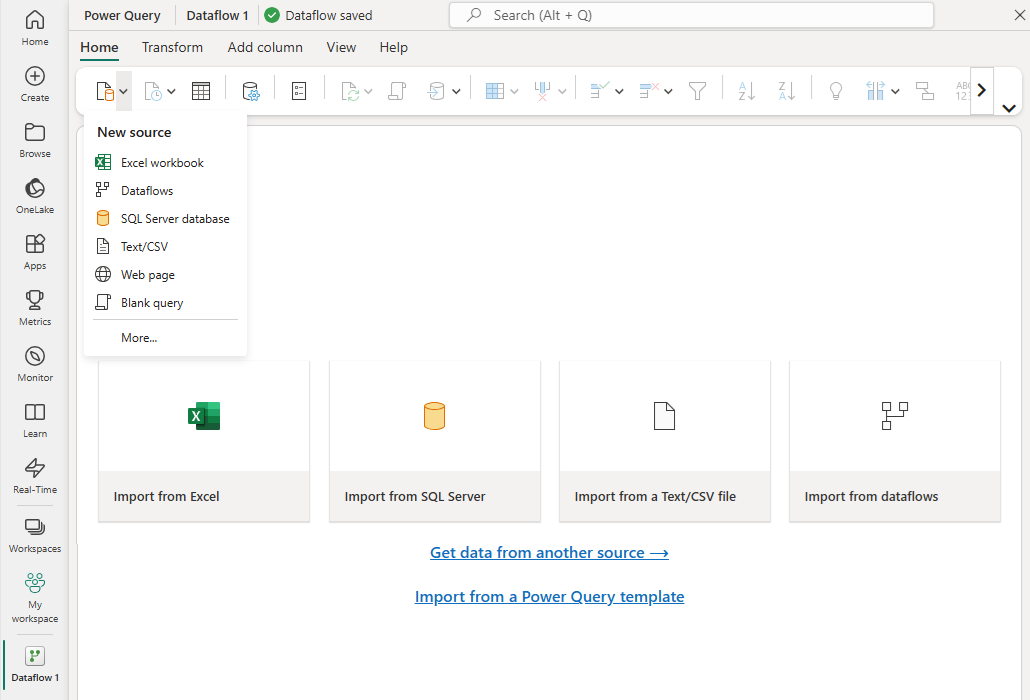
When you use the New source option, you can define a new table and connect to a new data source.
Select the Get data... link on the screen, or select a source by using New source in the ribbon.
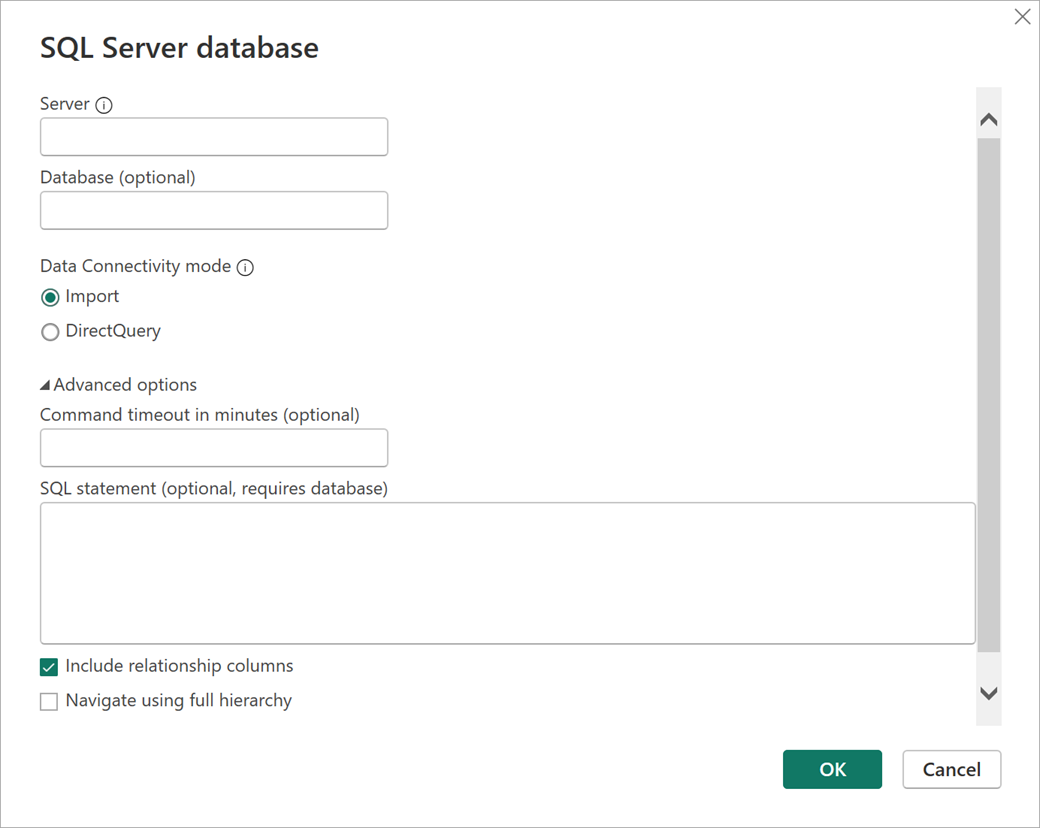
When you select a data source, you're prompted to provide the connection settings, as shown in the following image.
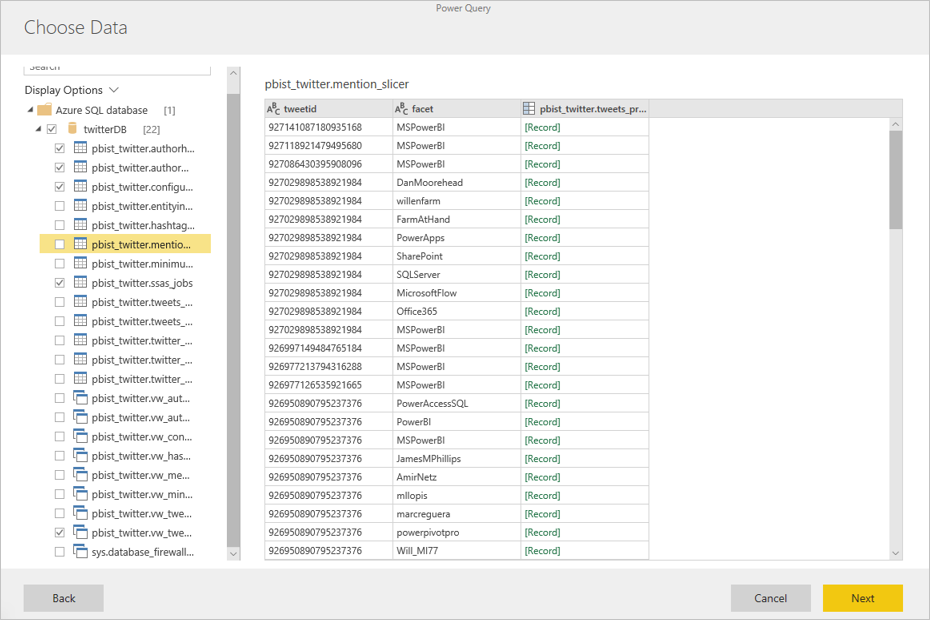
Once connected, you can select which data to use for your table. When you choose data and a source, Power BI reconnects to the data source. The reconnection keeps the data in your dataflow refreshed at the frequency that you select later in the setup process.
After you select the data to use in the table, you can use dataflow editor to shape or transform that data into the format necessary for use in your dataflow.

Create a dataflow by using linked tables
When you create a dataflow by using linked tables, you can reference an existing table that's defined in another dataflow in a read-only fashion. The following list describes some of the reasons you might choose this approach:
To reuse a table across multiple dataflows, such as a date table or a static lookup table, create the table once and then reference it across the other dataflows.
To avoid creating multiple refreshes to a data source, use linked tables to store the data and act as a cache. Every subsequent consumer uses that table, reducing the load to the underlying data source.
To perform a merge between two tables.
Note
Linked tables are available only with Power BI Premium.
Create a dataflow by using a computed table
When you create a dataflow by using a computed table, you can reference a linked table and perform operations on top of it in a write-only fashion. The result is a new table that's part of the dataflow. You can convert a linked table into a computed table in two ways. You can create a new query from a merge operation, or if you want to edit or transform the table, you can create a reference or duplicate of the table.
How to create computed tables
After you create a dataflow with a list of tables, you can perform calculations on those tables. In the dataflow authoring tool in the Power BI service, select Edit tables, then right-click the table you want to use as the basis for your computed table and on which you want to perform calculations. In the context menu, choose Reference.
For the table to be eligible as a computed table, you must select Enable load as shown in the following image. Right-click the table to display this context menu.

When you select Enable load, you create a new table whose source is the referenced table. The icon changes and shows the computed icon, as shown in the following image.
Any transformation you perform on this newly created table runs on the data that already resides in Power BI dataflow storage. That means that the query doesn't run against the external data source from which the data was imported, like the data pulled from the Azure SQL Database. Instead, the query is performed on the data that resides in the dataflow storage.
Example use cases
What kind of transformations can you perform with computed tables? You can perform any transformation that you usually specify by using the transformation user interface in Power BI or the M editor. All these transformations are supported when performing in-storage computation.
Consider the following example: You have an Account table that contains the raw data for all the customers from your Dynamics 365 subscription. You also have ServiceCalls raw data from the Service Center, with data from the support calls that were performed from the different account in each day of the year.
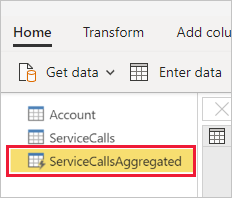
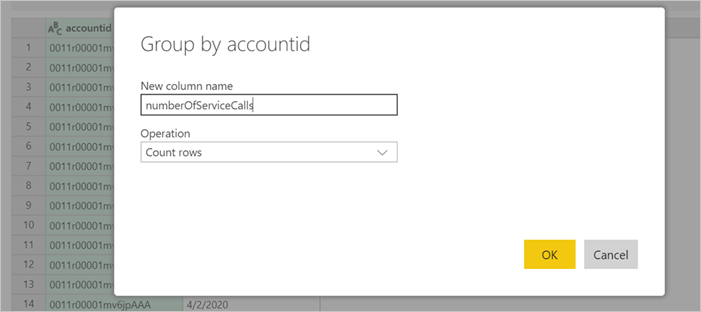
Imagine you want to enrich the Account table with data from the ServiceCalls table. First, you need to aggregate the data from the ServiceCalls table to calculate the number of support calls that were done for each account in the last year.
Next, you want to merge the Account table with the ServiceCallsAggregated table to calculate the enriched Account table.
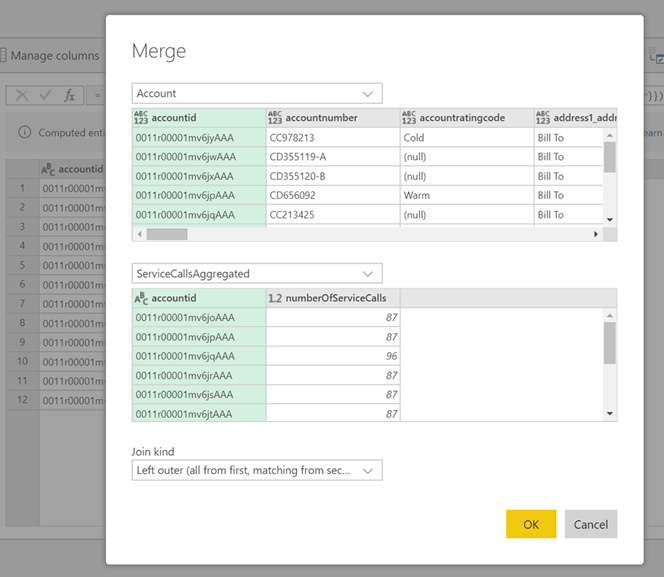
Then, you can see the results, shown as EnrichedAccount in the following image.

That's it. The transformation is performed on the data in the dataflow that resides in your Power BI Premium subscription, not on the source data.
Note
Computed tables are a premium only feature
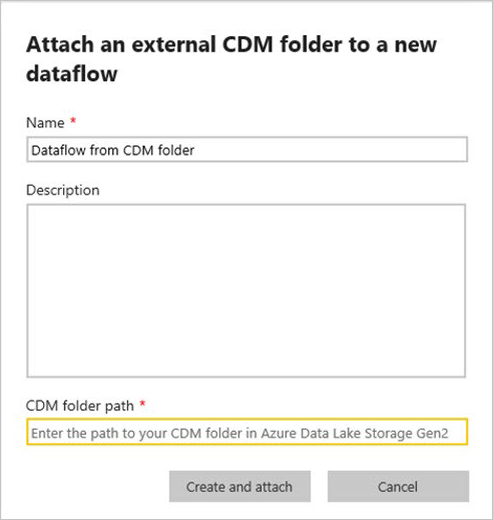
Create a dataflow by using a CDM folder
When you create a dataflow from a CDM folder, you can reference a table that another application writes in the Common Data Model (CDM) format. You need to provide the complete path to the CDM format file stored in ADLS Gen 2.
The following list describes the requirements for creating dataflows from CDM folders:
The ADLS Gen 2 account must have the appropriate permissions set up for Power BI to access the file.
The user trying to create the dataflow must have access to the ADLS Gen 2 account.
The URL must be a direct file path to the JSON file and use the ADLS Gen 2 endpoint; blob.core isn't supported.
Create a dataflow by using import/export
When you create a dataflow by using import/export, you can import a dataflow from a file. This tool is useful if you want to save a dataflow copy offline or move a dataflow from one workspace to another.
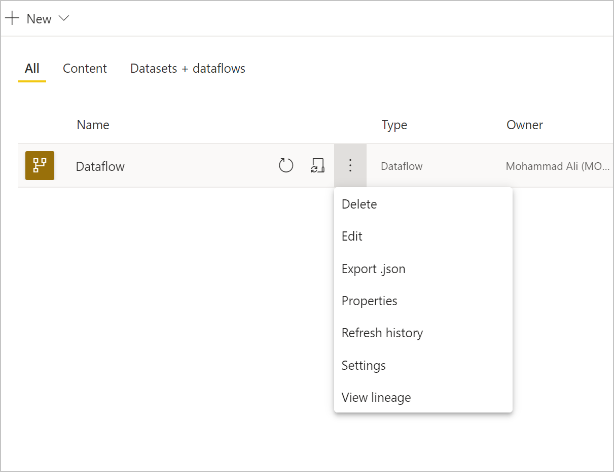
To export a dataflow, select the dataflow you created and select the More menu item (the ellipsis) to expand the options, then select Export .json. You're prompted to download the dataflow represented in CDM format.
To import a dataflow, select the Import box and upload the file. Power BI creates the dataflow for you and allows you to save the dataflow as is or to perform other transformations.
Related content
By putting your data into a dataflow, you can use Power BI Desktop and the Power BI service to create semantic models, reports, dashboards, and apps. These new resources give you insights into your business activities. The following articles go into more detail about common usage scenarios for dataflows: