Note
Access to this page requires authorization. You can try signing in or changing directories.
Access to this page requires authorization. You can try changing directories.
This article shows you how to create a Managed DevOps Pool using a Bicep template, and run a pipeline in the new pool.
Prerequisites
Before completing the steps in this article, have configured your Azure subscription and Azure DevOps organization for use with Managed DevOps Pools, as described in the Prerequisites article. These steps need to be completed only once per Azure subscription and Azure DevOps organization.
Sign in to the Azure CLI
Open a command prompt (on Windows, use Windows Command Prompt or PowerShell) and run the following commands.
Sign in the to Azure CLI.
az loginIf you have more than one Azure subscription, set your default Azure subscription.
az account set --subscription "My subscription name"To get a list of your subscriptions, you can run the following command.
az account list -o tableIf you have multiple tenants, or want to see more information about working with Azure subscription using Azure CLI, see How to manage Azure subscriptions with the Azure CLI.
Create a resource group
Create a resource group to contain the Managed DevOps Pool and other resources. Replace
<resourceGroupName>with the name you want to use for the resource group, and<location>with the Azure region where you want to create the resource group.az group create --name <resourceGroupName> --location <location>
Review and save the template
Create a local file name mdp-azure-deploy.bicep with the following contents. This file is a parameterized Bicep template that creates a
Microsoft.DevOpsInfrastructure/poolsresource including the dependenciesMicrosoft.DevCenter/devcentersresource andMicrosoft.DevCenter/projectsresource.@minLength(3) @maxLength(44) param poolName string @maxLength(26) param devCenterName string param devCenterProjectName string param adoOrg string param imageName string param poolSize int param location string = 'eastus' resource devCenter 'Microsoft.DevCenter/devcenters@2025-02-01' = { name: devCenterName location: location } resource devCenterProject 'Microsoft.DevCenter/projects@2025-02-01' = { name: devCenterProjectName location: location properties: { devCenterId: devCenter.id } } resource pool 'microsoft.devopsinfrastructure/pools@2025-01-21' = { name: poolName location: location properties: { organizationProfile: { organizations: [ { url: adoOrg parallelism: 1 } ] permissionProfile: { kind: 'CreatorOnly' } kind: 'AzureDevOps' } devCenterProjectResourceId: devCenterProject.id maximumConcurrency: poolSize agentProfile: { kind: 'Stateless' } fabricProfile: { sku: { name: 'Standard_D2ads_v5' } images: [ { wellKnownImageName: imageName buffer: '*' } ] kind: 'Vmss' } } }Create another local file named mdp-azure-deploy-parameters.bicepparam and save it in the same folder as the first file. Update the following properties to match the details of your environment.
Parameter Value poolNameUpdate valuewith the desired name of your pool. The name must consist of alphanumeric characters,.,-, or_, and be between 3 and 44 characters in length. The name must be globally unique in Azure.devCenterNameUpdate valuewith the desired name of your Dev Center.devCenterProjectNameUpdate valuewith the desired name of your Dev Center project.adoOrgUpdate valueand replaceyour-organizationwith the name of your Azure DevOps organization.imageNameThis example is configured to use an Azure Pipelines image, and uses the Windows Server 2022 image. If you want to change it, choose from the Azure Pipelines image predefined aliases. Managed DevOps Pools also supports Azure Compute Gallery images and selected marketplace images. For information on configuring a Managed DevOps Pools resource for these image types, see Configure Managed DevOps Pools images. poolSizeUpdate valuewith the maximum number of agents you want to be able to run concurrent jobs. In this example thepoolSizeis1.locationThe Azure region for the pool. In this example the region is eastus.using './mdp-azure-deploy.bicep' param poolName = '<pool-name>' param devCenterName = '<dev-center-name>' param devCenterProjectName = '<dev-center-project-name>' param adoOrg = 'https://dev.azure.com/fabrikam' param location = 'eastus' param imageName = 'windows-2022' param poolSize = 1
Create the Managed DevOps Pool
Open a command prompt (on Windows, use Windows Command Prompt or PowerShell) and run the following commands. You can skip the first two commands if your Azure CLI session from the first procedure is still active.
Sign in the to Azure CLI.
az loginIf you have more than one Azure subscription, set your default Azure subscription.
az account set --subscription "My subscription name"To get a list of your subscriptions, you can run the following command.
az account list -o tableIf you have multiple tenants, or want to see more information about working with Azure subscription using Azure CLI, see How to manage Azure subscriptions with the Azure CLI.
Go to the folder when you saved the mdp-azure-deploy.bicep and mdp-azure-deploy-parameters.bicepparam files from the previous step. In this example, the files are saved to
C:\examples.cd c:\examplesCreate the Managed DevOps Pool. Replace
<resourceGroupName>with the resource group created in the first step.az deployment group create --resource-group <resourceGroupName> --template-file mdp-azure-deploy.bicep --parameters mdp-azure-deploy-parameters.bicepparamIf your subscription doesn't have the capacity to configure your pool with desired Azure VM SKU and maximum agents count, pool creation fails with an error similar to the following message.
Cores needed to complete this request is 8, which exceeds the current limit of 0 for SKU family standardDDSv4Family in region eastus. Please choose a different region if possible, or request additional quota at https://portal.azure.com/#view/Microsoft_Azure_Support/NewSupportRequestV3Blade/issueType/quota/subscriptionId/subscription_id_placeholder/topicId/3eadc5d3-b59a-3658-d8c6-9c729ba35b97. To resolve the issue, see Review Managed DevOps Pools quotas.
View your created pool in the Azure portal
- Sign in to the Azure portal.
- Search for Managed DevOps Pools and select it from the available options.
- Choose your new Managed DevOps Pool from the list.
View the agent pool in Azure DevOps
Go to the Azure DevOps portal and sign in to your Azure DevOps organization (
https://dev.azure.com/{your-organization}).Go to Azure DevOps > Organization settings.

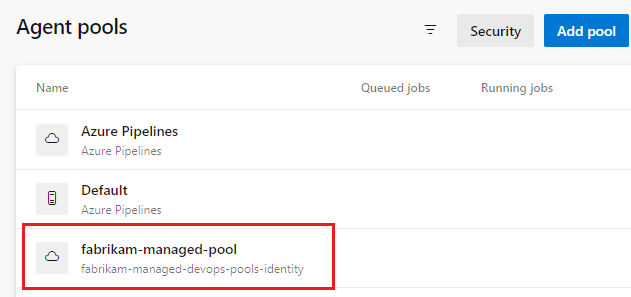
Go to Pipelines > Agent pools, and verify that your new pool is listed. If you just created the Managed DevOps Pool, it can take a few moments for the new pool to appear in the agents list.
Run a pipeline in your new pool
In this step, we'll create a simple pipeline in the default repository of an Azure DevOps project and run it in your new Managed DevOps Pool.
Go to the Azure DevOps portal and sign in to your Azure DevOps organization (
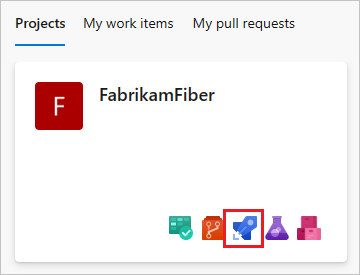
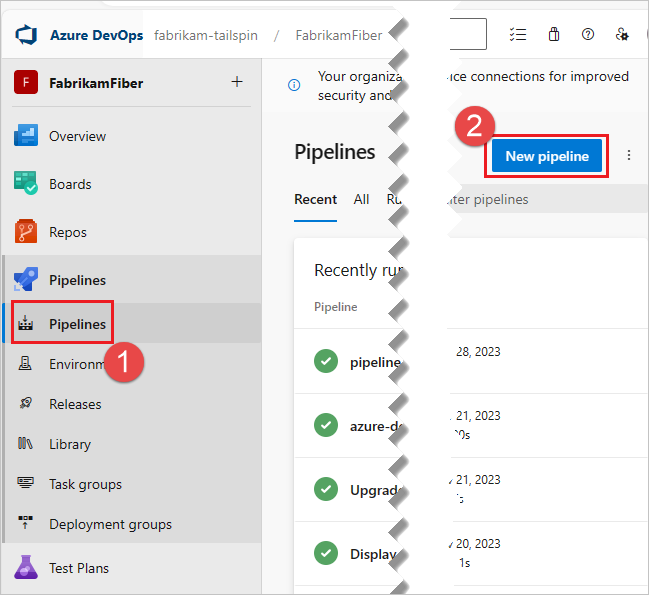
https://dev.azure.com/{your-organization}).Go to the project where you want to run the pipeline, and choose Pipelines.
Choose New pipeline (or Create Pipeline if this is your first pipeline).
Choose Azure Repos Git.

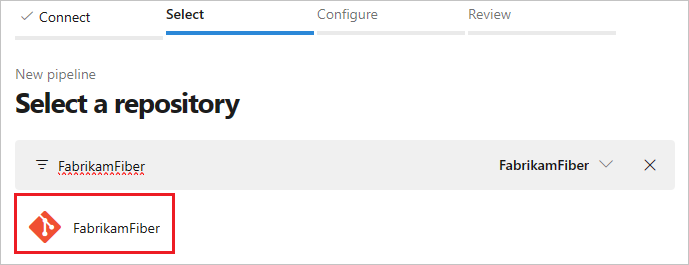
Choose the repository that has the same name as your project. In this example, the project is named FabrikamFiber, so we choose the repository with the same name.
Choose Starter pipeline.

By default the starter template uses a Microsoft hosted Linux agent. Edit the pipeline template and change the
poolsection so that it refers to the pool you created in the previous steps.# Change these two lines as shown in the following example. pool: vmImage: ubuntu-latestIn this example, the Managed DevOps Pools is named
fabrikam-managed-pool, so replacevmImage: ubuntu-latestwithname: fabrikam-managed-pools, and specify the name of your Managed DevOps Pool.# Replace fabrikam-managed-pools with the name # of your Managed DevOps Pool. pool: name: fabrikam-managed-poolChoose Save and run, and choose Save and run a second time to confirm.

If this is the first pipeline run in this pool, you may be asked to grant permissions before the pipeline runs. For more information see This pipeline needs permission to access a resource before this run can continue.
Watch the pipeline run in Azure DevOps, and you can switch over to the Azure portal and see the running agent in the Agents view.
Clean up resources
When you have completed the quickstart, delete the created resources if you don't want to continue to use them.
To delete the Managed DevOps Pool, Dev Center, and Dev Center Project, you can delete them by deleting the resource group that contains them.