Note
Access to this page requires authorization. You can try signing in or changing directories.
Access to this page requires authorization. You can try changing directories.
To streamline your workflow, you might want to automatically invoke your AI agent when an event occurs. The event might be receiving a new email. Or it might be getting a new customer ticket so that your AI agent can immediately respond to the new event without manual invocation.
To automatically invoke an agent, you can select among hundreds of triggers in Azure Logic Apps, along with using the Azure AI Foundry Agent Service connector.
What is a trigger?
A trigger is the first item that you need to add to your workflow. It allows you to connect to a specific service. When a specific event happens in the service, the trigger invokes connectors. In this case, it's a connector for Foundry Agent Service.
For example, consider a workflow with the Microsoft Forms connector (which has a trigger) that connects to a specific form. Whenever this form receives a new response, the trigger recognizes it and invokes the connectors by following it in the workflow. You can then pass the form response as a message to your AI agent and use its tools to respond or take proper actions.
To check if a specific connector has a trigger capability, view its documentation and see if it has a Triggers section. For example, view the Triggers section of the Microsoft Forms connector.
Prerequisites
Set up
- In the Azure portal, go the page for Logic Apps.
- Create a Logic Apps resource. Provide all required information, and select the Consumption - multi-tenant type.
Assign proper RBAC permissions
For a Logic Apps resource:
- In your Logic Apps resource, go to the Identity page.
- Enable a system-assigned managed identity.
- Copy the object (principal) ID.
For an Azure AI Foundry project:
- In the Azure portal, go to the Azure AI Foundry project that has the AI agent that you want to use.
- Select Access control > Add role assignment.
- Select at least Azure AI Project Manager, and then select Next.
- Select User, group, or service principal, and then select members.
- Paste the object ID that you got from the Logic Apps resource to search for your Logic Apps resource. Then select Finish.
After you assign the role-based access control (RBAC) roles, go back to the Logic Apps resource and select Logic App designer. You can add a trigger of your choice to your workflow.
Add Foundry Agent Service connectors to your workflow
Select Add an action, and then search for Azure AI Foundry Agent Service.
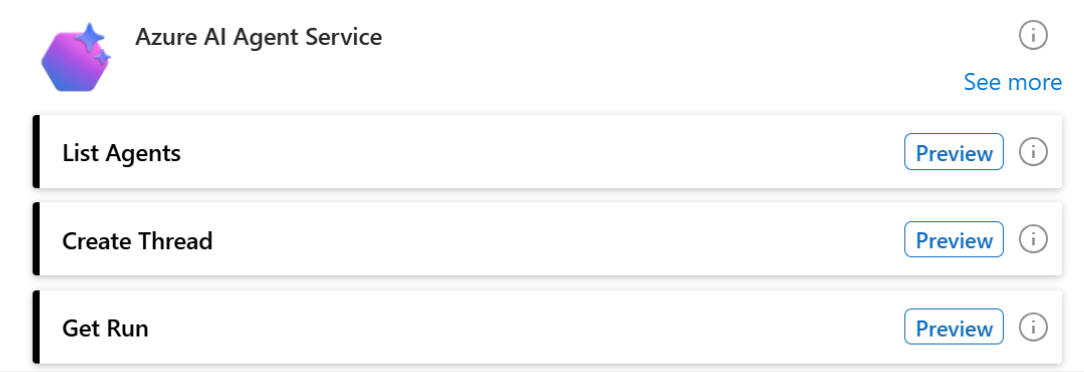
Depending on your use case, choose the actions that you need.
If you want to create a new thread for each new event of your trigger, add the following connectors in sequence:
- Create Thread
- Create Run
- Get Run
- List Messages
If you want to create a new run in the same thread for each new event, add the following connectors in sequence:
- Create Run
- Get Run
- List Messages

Tip
- Because Foundry Agent Service takes time to respond, we recommend that you add a Delay connector between Create Run and Get Run.
- To create reusable parameters for the subscription ID and other values so that you can avoid repetitive work, select Parameters.
Create a connection
To create a connection, provide the following information:
- Connection name: The name of your connection.
- Project name: Your Azure AI Foundry project endpoint. The format is
http://<aiservicename>.services.ai.azure.com/api/projects/<project name>.
Configure the List Agents connector
The List Agents connector only lists all the agents in your AI project. You don't need to provide any information for this connector.
Configure the Create Thread connector
The Create Thread connector creates a new thread, which is a conversation session between an agent and a user. Threads store messages and automatically handle truncation to fit content into a model's context. You can configure the Create Thread connector with the following information:
Messages (optional): You can add the message that you want the AI agent to respond to. Add the role as user for the message. The message can be the event payload from the trigger; for example, a form response field. It can also be a constant message; for example, always triggering with the phrase "what is the latest AI news this week?"
Metadata (optional): You can attach a set of 16 key/value pairs to an object. This approach can be useful for storing additional information about the object in a structured format and querying for objects via an API or the dashboard. Keys are strings with a maximum length of 64 characters. Values are strings with a maximum length of 512 characters.
Tool resources (optional): In addition to the tool resources that you provided in your agent, you can provide updated tool resources applicable only to your thread. Here's an example of tool resource:
[
  {
    "type": "bing_grounding",
    "bing_grounding": {
      "search_configurations": [
        {
          "connection_id": "/subscriptions/<subscription-id>/resourceGroups/<your_resource_group_name>/providers/Microsoft.CognitiveServices/accounts/<your_ai_service_name>/projects/<your_project_name>/connections/<your_connection_name>",
          "count": 7,
          "market": "en-US",
          "set_lang": "en",
          "freshness": "7d"
        }
      ]
    }
  }
]
Configure the Create Run connector
The Create Run connector creates a new run, which is an activation of an agent to begin running based on the contents of the thread. The agent uses its configuration (such as tool resources) and the thread's messages to perform tasks by calling models and tools. As part of a run, the agent appends messages to the thread.
To configure the Create Run connector, select it and provide the following information:
The ID Of The Thread To Create A Message For (required): The ID of the thread that you created. Select the function icon to select the id parameter from your previous Create Thread connector output.
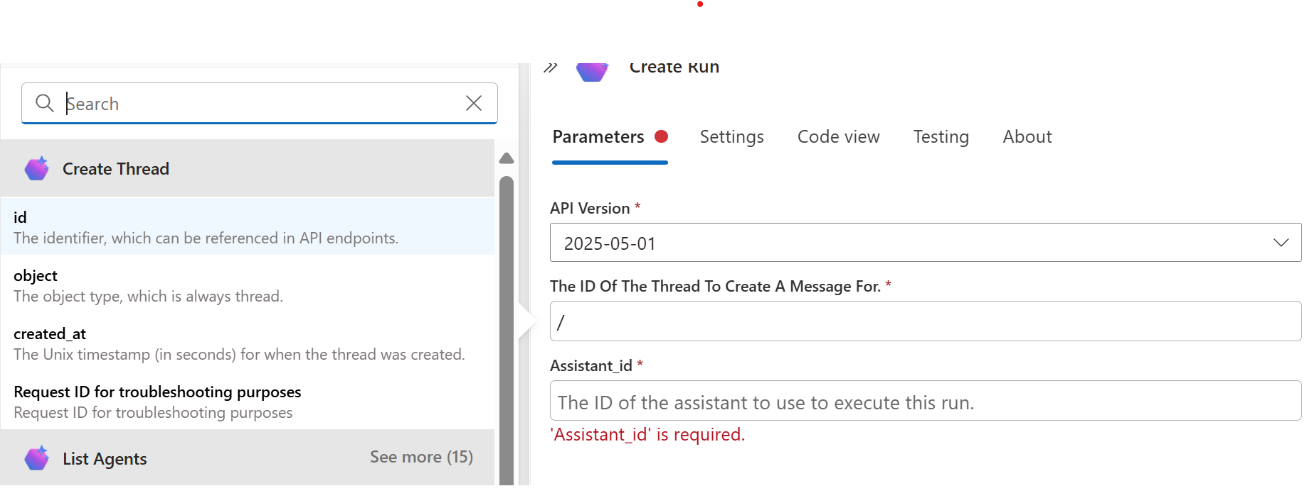
Assistant_id (required): The ID of the agent that you created.
Messages (optional): The message that you want the AI agent to respond to. Add the role as user for the message. It can be the event payload from the trigger; for example, a form response field. It can also be a constant message; for example, always triggering with the phrase "what is the latest AI news this week?"

Tip
To avoid problems, be sure to add the message in either the run or the thread connector.
Configure the Get Run connector
The Get Run connector gets and retrieves the run that you created. Configure the connector by providing the following information:
Thread ID parameter (required): The ID of the thread that you created. Select the function icon to select the id parameter from your previous Create Thread connector output.
Run ID (required): The ID of the run that you created. Select the function icon to select the id parameter from your previous Create Run connector output.
Configure the List Messages connector
The List Messages connector lists all messages in the current thread. Configure the connector by providing the following information:
- Thread ID parameter (required): The ID of the thread that you created. Select the function icon to select the id parameter from your previous Create thread connector output.
Get a response from Foundry Agent Service
To get a response, you need a custom function to retrieve the exact response body from the List Messages connector:
Add the Compose connector.
Add the following string function to get just the response back:
body('List_Messages')['data'][0]['content'][0]['text']['value']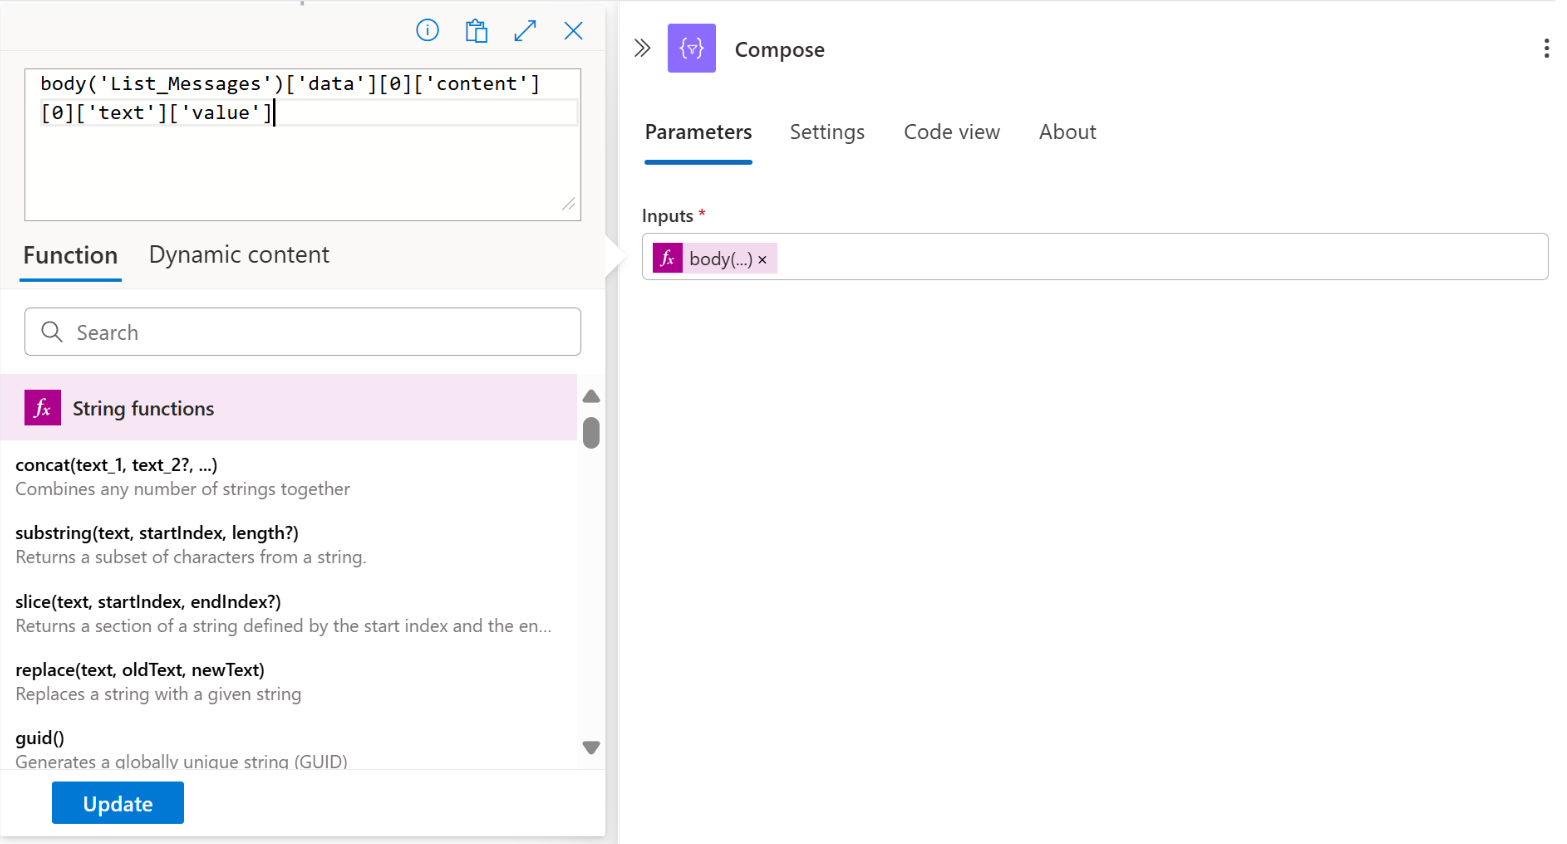
Add other connectors if necessary. To check the status of your runs, select Run > Run history.
